Design thinking school project: a guide to five phases
A design thinking school project moves through Empathize, Define, Ideate, Prototype and Share & Improve. Start with a problem students can observe, agree one question with the partner class, make a simple first version and use feedback to improve it. Keep an observation, a decision or a reflection at each phase.
Last updated

Start with a problem your students can observe, such as food waste in the cafeteria, water use or a school space that could work better. This guide gives you a task, a shared output and a feedback point for each phase.
Plan a design thinking school project
Use five phases: Empathize, Define, Ideate, Prototype, then Share & Improve. Students listen to the people affected, agree on a problem, explore ideas, make a first version and improve it after feedback. Return to an earlier phase whenever the evidence gives you a reason.
- Choose one question that fits your subject and a place students can observe safely.
- Agree with the partner teacher on the language, materials, response dates and final output.
- Keep a record at each phase: observations, a problem statement, selected ideas, a prototype and a reflection.
- Adapt the pace to your timetable. Five or six sessions can be a starting plan, with extra time for partner responses and revision.
On Class2Class, Create Solutions is the project approach for designing responses to a real problem. Teachers can organise the work through Icebreaker, Working in Class, Presentation and Reflection activities. The five phases below show one way to use that structure with a partner class.
The Project Assistant can suggest objectives, activities and a timeline from your topic, student age range and collaboration language. Review and edit the suggestions for your class. Find and connect with a partner teacher through Connect, or invite a teacher you already know. A project idea does not include an automatically assigned partner.
Guide the five phases
1. Empathize: observe and listen
Ask who is affected by the problem and what you need to understand before suggesting a solution. Students can observe the cafeteria, garden or another agreed space, then record what happens through notes, drawings or photographs. They can also ask classmates or community members a few teacher-agreed questions.
Keep observations separate from assumptions: "There were three unopened cartons" is an observation; "Nobody likes milk" needs more evidence. Follow school rules for photographs and interviews, and offer drawings or object photographs when people should not be shown.
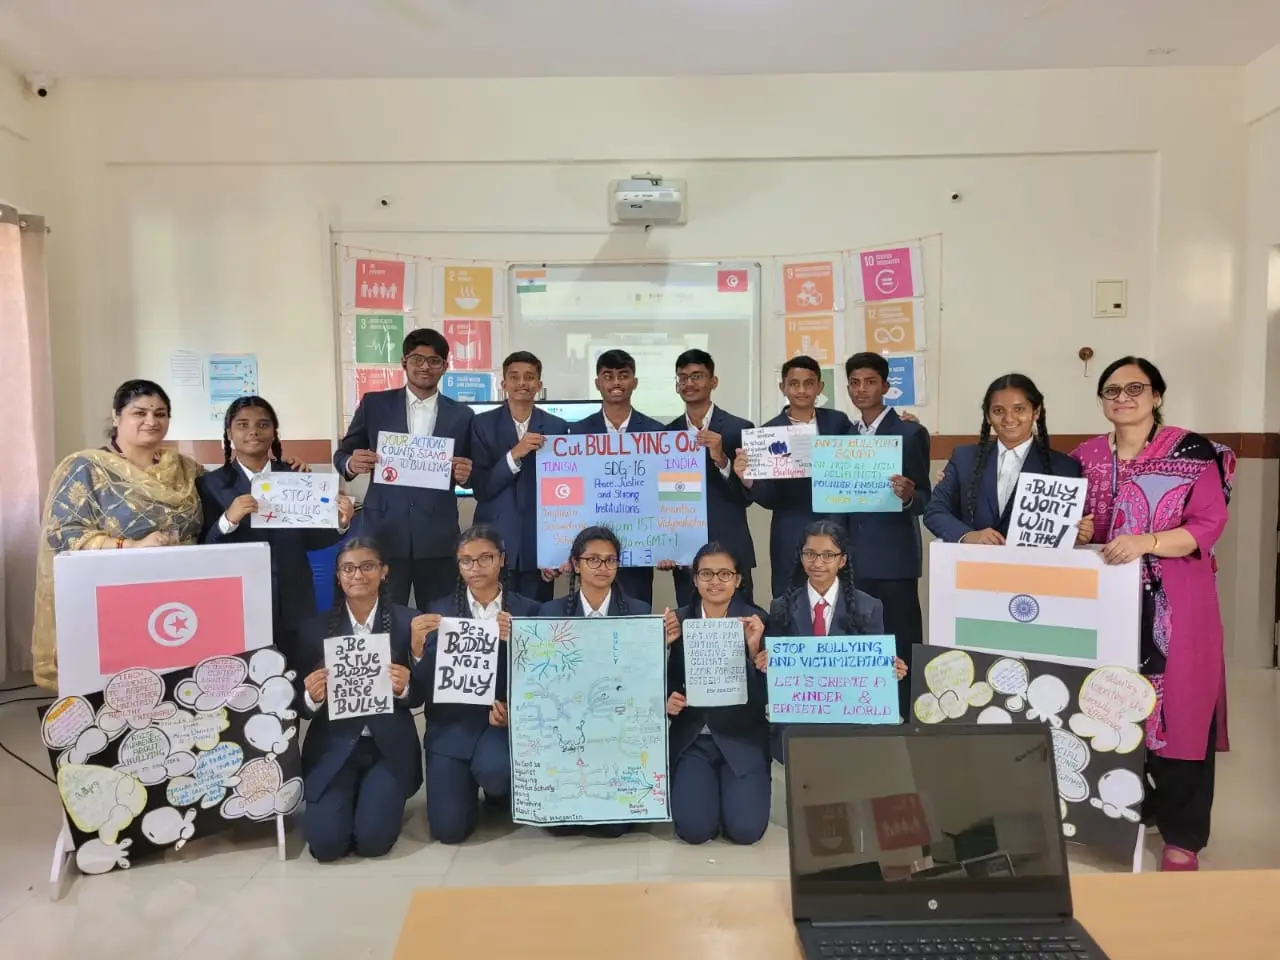
Use an Icebreaker activity to introduce the classes and exchange initial observations. A short video, photo gallery, voice note or written message can show what each class noticed. Teachers can review the contributions on the project Board and ask each group what the partner class added to its understanding.
2. Define: agree on one problem
Review the observations and write one clear problem statement. Let groups compare and question their statements, then choose one the class can investigate. If a statement covers several different problems, narrow it so students can make and test a useful response.
Share the statement in a Working in Class activity. Compare it with the partner class's statement and agree a version that fits both contexts. A class in Colombia and one in Poland may notice different needs; use those differences to refine the question rather than assuming the problem is identical.
Keep both initial statements and the agreed version. Ask students to explain which observations support the final wording and what changed after the exchange.
3. Ideate: collect ideas before choosing
Give students time to generate ideas before evaluating them. Use sticky notes, a shared whiteboard or a table with one column per student. A ten-minute round is one possible classroom activity. Groups share their lists, cluster similar ideas and consider suggestions that take a different approach.
Share selected ideas in a Working in Class activity and read the partner class's responses. Agree simple criteria, such as whether an idea addresses the problem, uses available materials and can be tested. Let students explain their choices and build on one another's suggestions.
Use project chat and teacher messaging for the exchange. If a live discussion helps, teachers choose and schedule an external video tool; students can also complete the collaboration through messages and shared work.
4. Prototype: make a first version
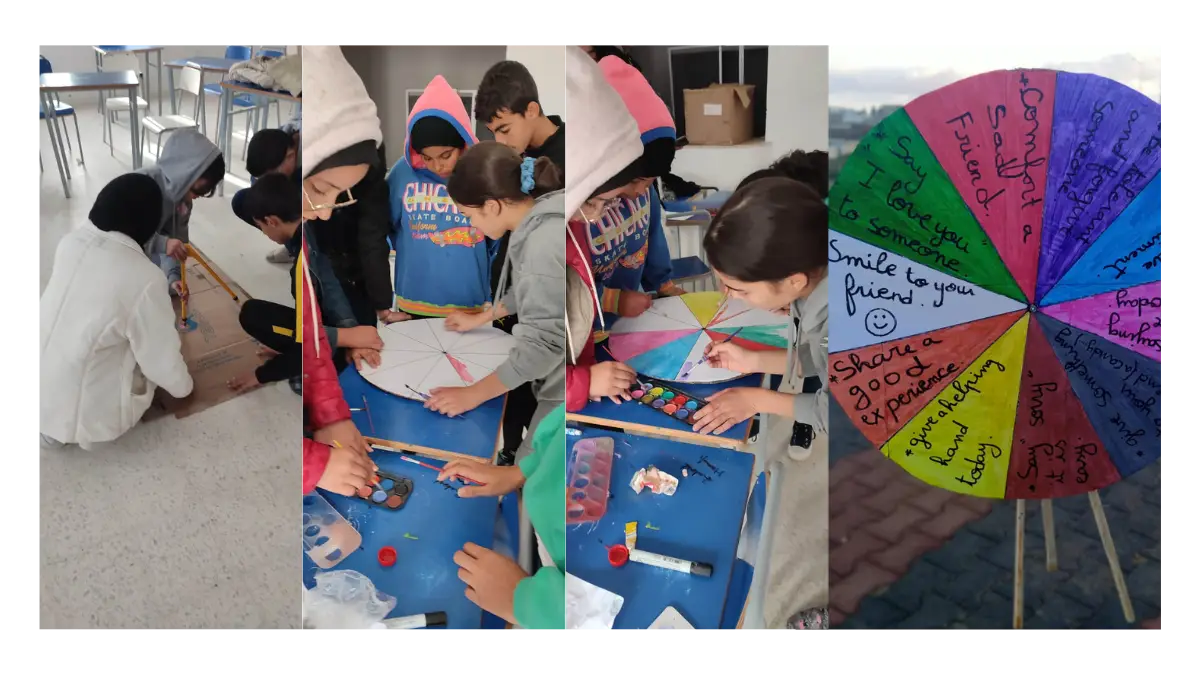
Build something the partner class can respond to: a poster, a model from recycled materials, a short video, a written plan, a diagram or a paper mock-up. Choose the format that helps students test their idea. The first version can be simple enough to change after feedback.
Use a Working in Class activity to share photographs, a video or another record of the prototype on the Board. Ask each group to explain its choices. Compare the two classes' versions: how did the materials, school setting or interpretation of the problem affect the design?
5. Share & Improve: respond to feedback
Present the prototype to the partner class, your school community or both. Collect feedback through questions, a short survey or a conversation. Ask what works, what is unclear and what could change. Groups can revise the prototype or explain what they would change with more time.
Use a Presentation activity to share the work, then a Reflection activity for students' explanations. Ask what they designed, which feedback they used, what they learned and what they would do differently. Keep the final product and the reflection so the process remains visible alongside the output.
Use the record to assess learning
Collect the observations, agreed statement, selected ideas, prototype, feedback and reflection. These show what groups did and decided. Add a short explanation from each student to check individual understanding. The assessment guide offers ways to combine process evidence, a group product and individual responses.
When the project is finished, marking it complete starts the platform's certification process. Certificates depend on that process and its review; finishing these five classroom phases alone is not a promise that every student has earned a certificate.
What the research can tell you
A 2024 meta-analysis by Qing Yu, Kun Yu and Rongri Lin found positive overall learning effects across 25 studies of design thinking. Results varied with the learning outcome, duration, grade level, model and region. It supports trying the approach with clear goals and checking learning; it does not establish outcomes for this five-phase Class2Class project.
The OECD Learning Compass 2030 includes student agency and a broad view of knowledge, skills, attitudes and values. Use that as a planning lens: give students meaningful choices while teaching the subject knowledge they need. The Class2Class educational framework explains how the platform connects project work, competencies and student agency.
Sources
- Panke, S. (2019). Design Thinking in Education: Perspectives, Opportunities and Challenges. Open Education Studies, 1(1), 281-306.
- Yu, Q., Yu, K. and Lin, R. (2024). A meta-analysis of the effects of design thinking on student learning. Humanities and Social Sciences Communications, 11, 742.
- OECD (2019). OECD Learning Compass 2030.
- UNESCO (2021). Reimagining Our Futures Together: A New Social Contract for Education.
- Class2Class. Questions from schools, DPOs and partners: matching, communication and teacher/student access.
- Class2Class (2026). Introducing the Project Assistant on Class2Class.
Frequently asked questions
How long does a design thinking school project take?
The pace depends on the problem, your timetable and the partner class. Five or six sessions can be a starting plan, with more time for feedback and revision. Agree response dates before you begin; there is no guaranteed setup or completion time.
Can we do this without a live video meeting?
Yes. Both classes can exchange observations, ideas, prototypes and feedback asynchronously. Agree when each class will respond. Live meetings are optional and use an external tool chosen and scheduled by the teachers.
Does a prototype need special materials?
No. A paper mock-up, recycled-material model, poster, diagram, short video or written plan can work. Choose a format that lets students explain and test the idea, then improve it after feedback.
Explore a project to adapt
Class2Class is free for teachers and students. Explore ideas about sustainable school spaces, clean water, food waste or green design, then choose one that fits your class. Agree the task and timeline with a partner teacher and adapt the plan for your students.